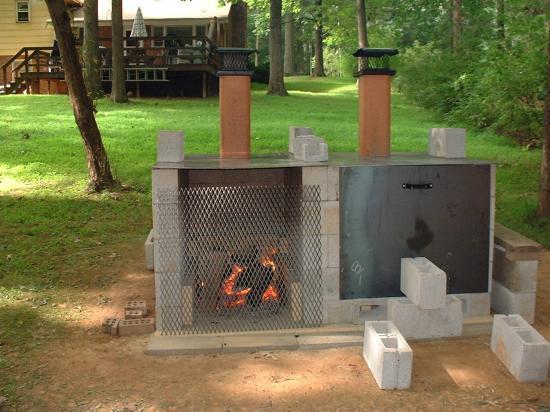
Pit Barbecue
|
|
|
Click the Building the Pit link for pix on building the pit.
Click the Close Call link to see some pix of two trees that fell and almost took out the pit. Click any pic to see the full size pic. |
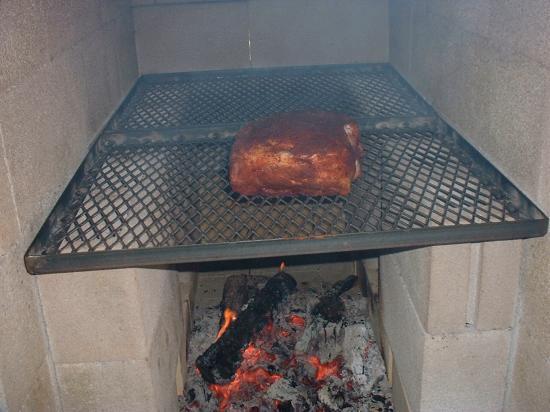
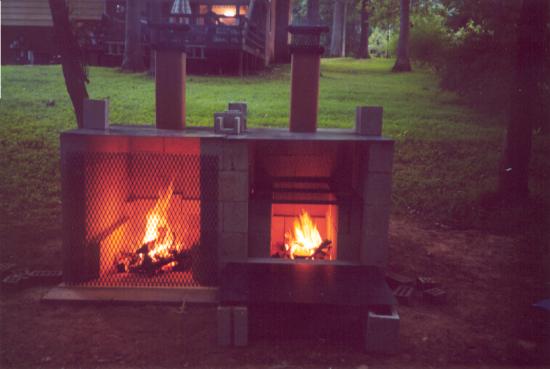
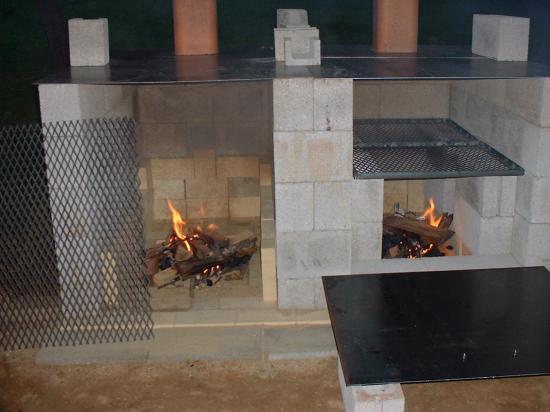
| Pix from various cooking sessions |
 #1 |
 #2 |
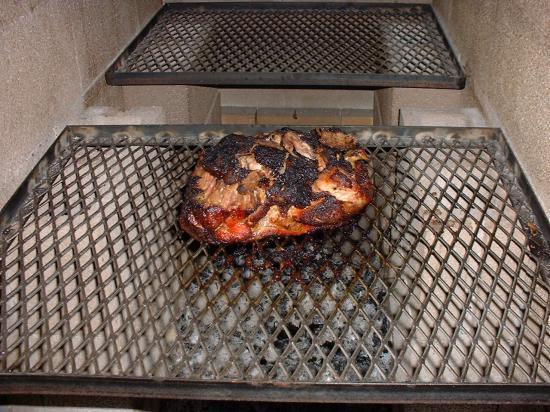 #3 |
|
Pic #1: A batch of coals is ready to move to the cooking side.
Pic #2: Pork butt cooking. Pic #3: Pork butt is ready. |
||
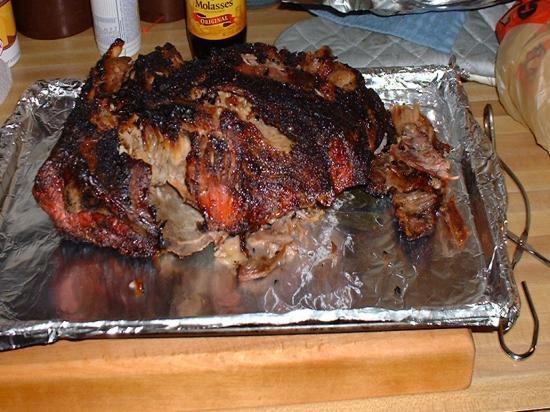 #4 |
 #5 |
 #6 |
|
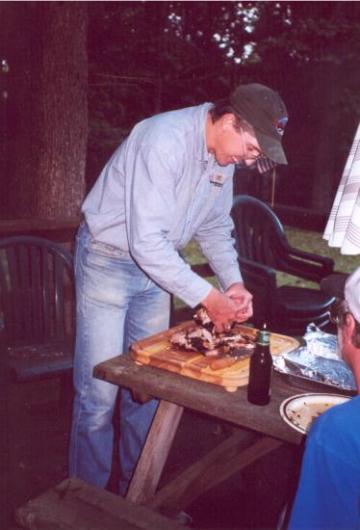
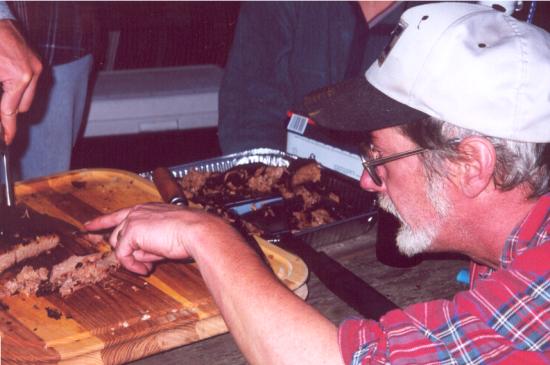
Pic #4: Rested for awhile and ready to eat. I cooked a pork butt the first time since it is a more forgiving piece of meat.
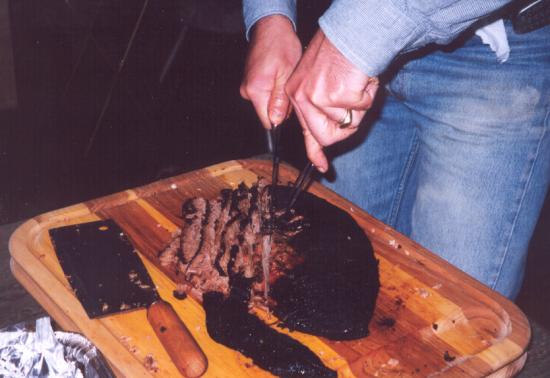
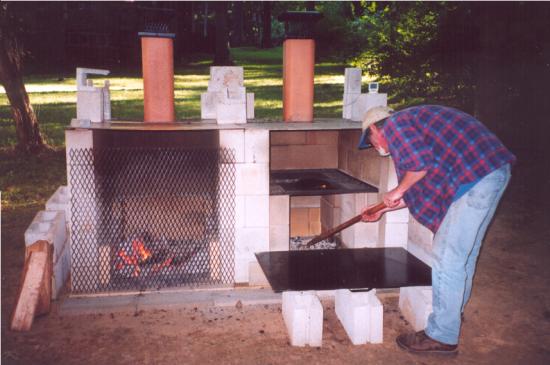
Pic #5: Slicing a brisket. Pic #6: Spreading coals on the cooking side. |
||
 #7 |
 #8 |
 #9 |
|
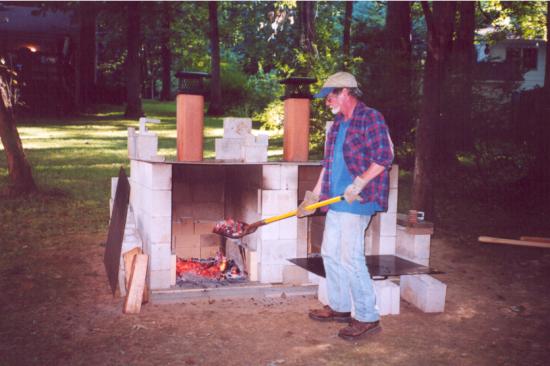
Pic #7: Moving coals to the cooking side.
Pic #8: JT pulling the pork butts. Pic #9: I want that slice. :) |
||
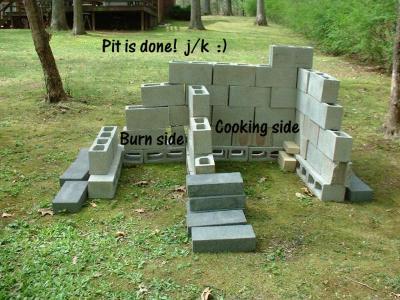
| Building the bbq pit | ||
|
Standard construction techniques were not used because I did not want to build a permanent bbq pit yet. I would like to experiment with different designs after gaining experience cooking with a basic block pit.
However I wanted something that was decent enough quality so I would not make erroneous design decisions in the future. I compromised with a semi-permanent design. I didn't pour a concrete foundation and I didn't use mortar to set the concrete blocks. I put considerable effort into leveling a block over sand foundation since mortar wouldn't be used as a fudge factor for leveling blocks in the higher courses and I wanted a nice tight fit between the blocks. |
||
 #1 |
 #2 |
 #3 |
|
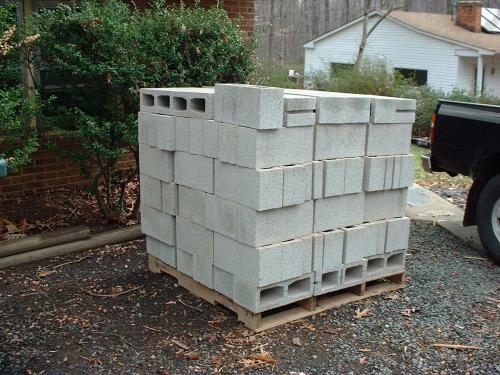
Pic #1: A pallet of 6x8x16 concrete block.
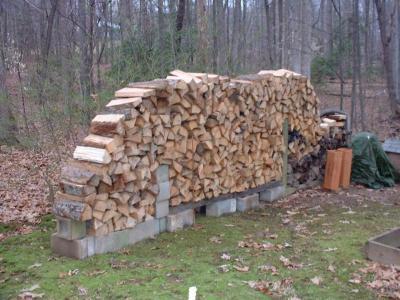
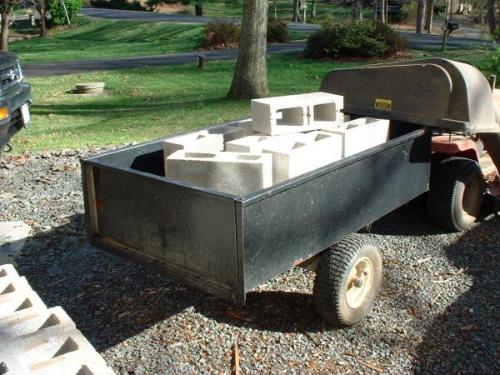
Pic #2: Some white oak waiting to make bbq. Pic #3: Hauling the block to where it is needed. |
||
 #4 |
 #5 |
 #6 |
|
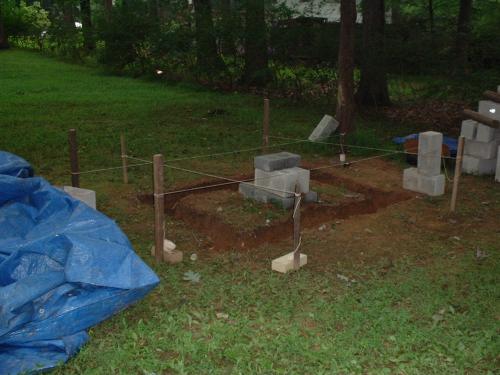
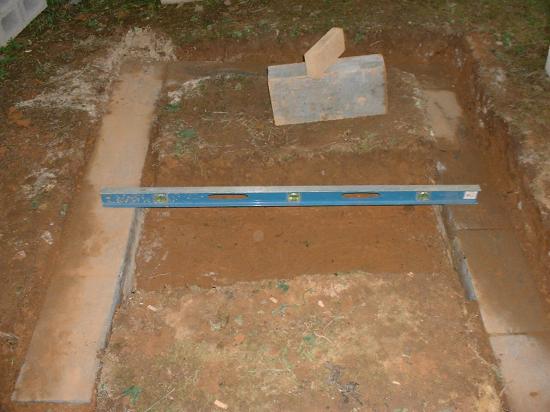
Pic #4: Testing various layouts. The 4x8x16 solid cinder blocks were used for the foundation.
Pic #5: Excavating the trench for the foundation. Pic #6: The string levels. The pics of the foundation aren't very good. I was fiddling with the built in flash and forgot to set it back to a standard setting. |
||
 #7 |
 #8 |
 Pic #9 |
|
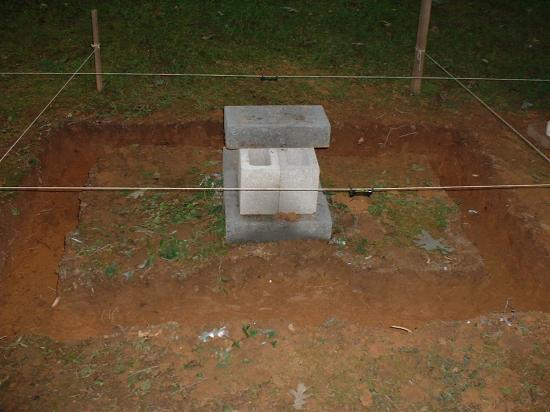
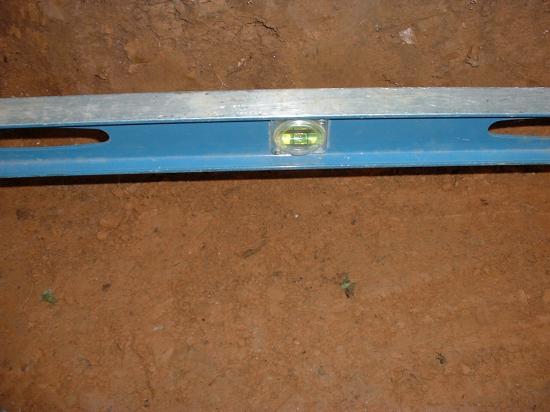
Pic #7: The first corner is laid, squared and leveled.
Pic #8: Checking foundation level from front to back. Pic #9: Love it when the bubble touches both center lines. This was the most time consuming part of building the pit since the concrete blocks for the walls will be set without mortar. The block foundation has to be durn near perfect. |
||
 #10 |
 #11 |
 #12 |
|
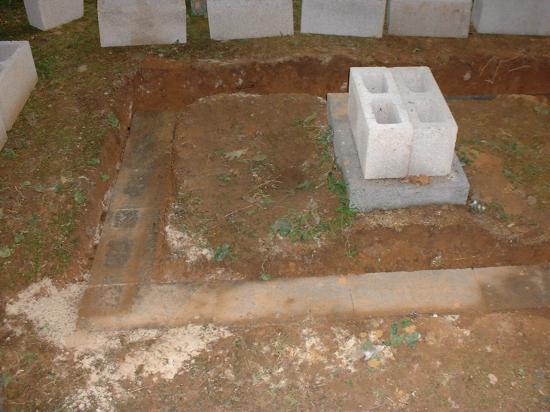
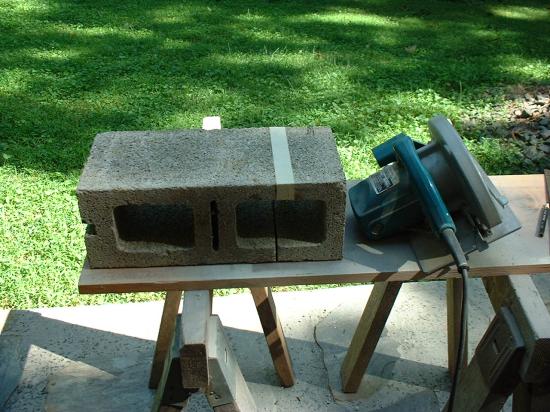
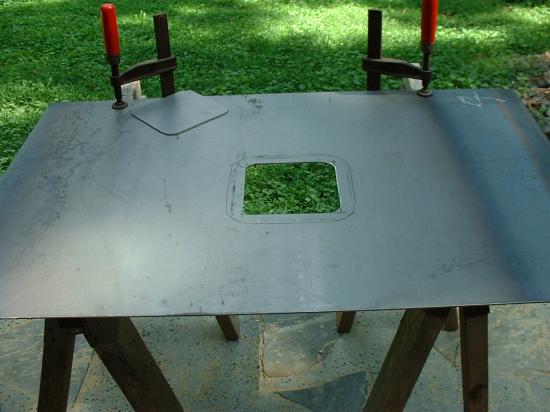
Pic #10: Some of the concrete blocks had to be custom cut so I used a diamond tip blade in the circular saw.
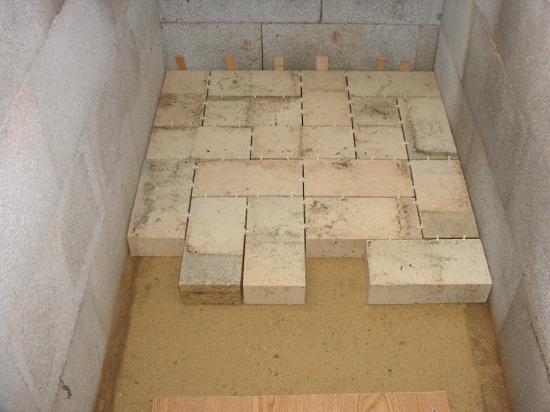
Pic #11: Laying the burn side fire bricks on a tamped sand base The dark edge around the sand is the foundation block acting as a brick ledge. The little white things between the bricks are spacers. After all the fire bricks were laid then I filled in the spaces between the fire bricks with sand. Pic #12: Cut the hole the chimney flue will sit over. |
||
 #13 |
 #14 |
 #15 |
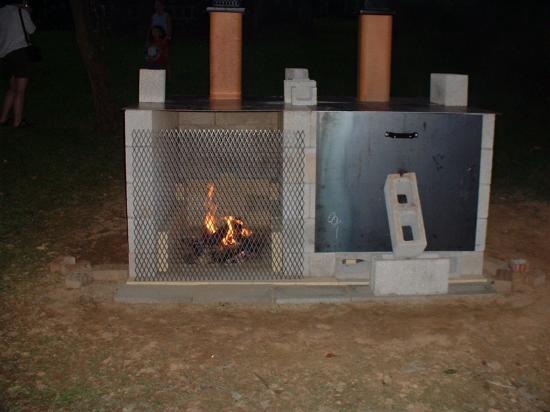
| Pix of the first fire in the new pit. I kept the fire small to be safe. | ||
|
|
|